Can I refinish my hardwood floors?
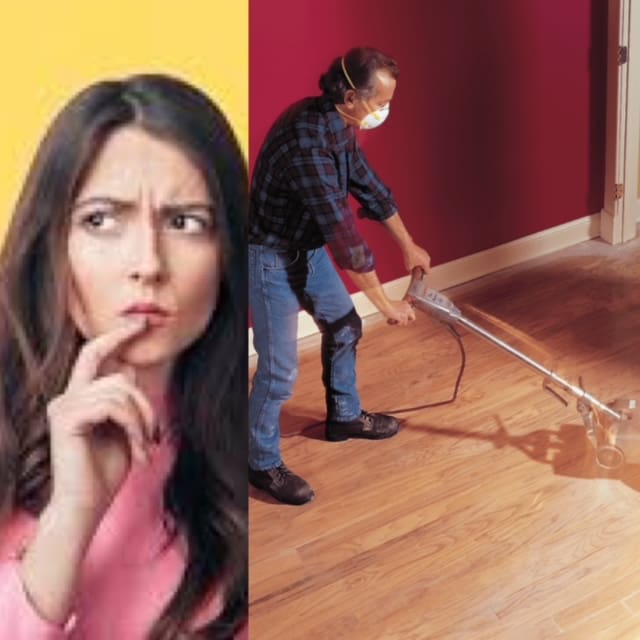
Anything is possible, right? In our 21 years of experience, we have seen many clients attempt to sand and refinish their hardwood floors. We have also heard many stories of clients that have sanded and refinished their hardwood floors. Unfortunately, the common phrase we hear is “I will NEVER do that again!” Why is this? Most people start this process believing that it is going to be a weekend project and have no idea of what has to go into it as far as time, energy and materials. Also, there is a HUGE learning curve to operating the equipment properly and safely, along with figuring out the sandpaper sequence and what to do when. We have found that it takes at least 4-6 months before our apprentices have a good grasp on the tools, machines and techniques used to produce a professional outcome. Most people start the project and after a couple days, they realize they are in over their heads…. that’s when we get the call… “Can you just come by and help us finish the sanding and staining?” Those that do see it through to the end, quite often are not happy with their results, especially if they are staining their floors. Unfortunately, the fix is usually start over from the beginning, the dreaded RE-SAND. There are a lot less things that can go wrong if you are not staining your floors and just applying 3 coats of a polyurethane. I know, I know… I sound very pessimistic, but i also want to be realistic and not have you do this twice. That being said, I know there are some people who are up for the challenge and here is where I am going to lay out the how to’s if you are up for the task! Are you ready?!
The most important thing you need to realize is that wood dust and stain rags are EXTREMELY FLAMMABLE. More so if you combine the two. There have been many house fires over the years in Cleveland that were due to hardwood flooring projects.
First, we need to get everything off the floor and protect the surrounding areas from any dust that escapes. We do this by masking the area off and using an air scrubber to remove the dust that our vacuum systems leave behind (which is very little). You may not have commercial vacuums strong enough to handle the massive amount of dust, so you will most likely be using dust bags. You need to empty them often, as this will leave you a cleaner environment.
Next, you have to get (most likely rent) the equipment. This includes an upright drum or belt sander for the field, an edger for the perimeter, a floor buffer to blend in the edger and the upright sander swirls, along with a random orbit sander for blending all the different machines sanding marks. We as professionals will use an additional planetary sander that is heavy weighted and will get the floor perfectly flat, but unfortunately, most home centers will not rent this piece of equipment to you.
The sanding usually starts (use the upright sander first) with 40 or 50 grit on the edger and the upright sanders, next is 60 or 80 grit (depending on how gummy or damaged the floor is) then ending at a 100 or 120 grit. It is important to rotate between the edger and the upright sander throughout the process, ending with the upright sander. Now we have to address the line where the upright sander meets the edger sander. This is done with the random orbit sander, usually with 80 grit, blending this in. Remember to thoroughly vacuum in between each sanding sequence or the lower grit will end up leaving larger scratches in your floor.
Next, we have to hand scrape the corners and areas where the sanders do not reach (in between spindles, behind toilets, around radiators etc…) After the scraping, these areas should be hand sanded with 80 grit.
Now it’s time to bring in the 16” buffer and buff the entire floor with 100 or 120 grit screen, changing the screen every 200 square feet or so. Quite often these screens are too sharp from the manufacturer and need to get dulled down before putting them on the floor. We like to rub two of them together to prevent seeing small swirl marks in the finished floor. Don’t forget to hand screen the areas you had to scrape also. After this, we are ready to do a final vacuum and start applying your finish and/or stain. If we are staining the floors, we do a final process called water popping, which is wiping the entire floor down with water, letting it dry for a few hours, then applying the stain and finish. This process allows the stain to be absorbed deeper into the grain and quite often will give you a richer, more uniform look. Another added benefit of the process is it helps remove some of the small sanding/swirl marks.
If you are staining, you should apply the stain in even rows, cutting in quickly after the stain is applied to the field, then wipe off with cotton rags. PUT THE USED RAGS IN A METAL CONTAINER FILLED WITH WATER! These can combust on their own. Be careful! After the stain is applied, we need to wait approximately 2-36 hours (depending on what brand of stain you use), then we can apply the finish.
There are so many types of finish on the market lately. To keep it simple, we are going to recommend a water-based sealer, then 2 additional coats of a water-based polyurethane (you can spend anywhere from $30 a gallon to $160 a gallon on polyurethane). Do not buy the cheap finish. Also, do not buy the finish from a home center, purchase it from a hardwood flooring distributor, as they can help you make a good decision depending on your circumstances. This is one of the most important aspects of refinishing your floors. You DO get what you pay for. The finish can be applied many different ways. We will recommend rolling in on with a paint roller (3/8th nap), cutting in the perimeter quickly with a brush or 9” paint pad, and working out of a paint tray or larger paint bucket. In order to avoid lap lines, move quickly, as the water-based polyurethane dries fast. You generally can apply the sealer, wait about 3 hours, and hot coat the 2nd layer (meaning you do not have to sand in between the sealer and the 1st coat of polyurethane). Then wait about 4 hours and quickly sand the 2nd layer (just to make a mechanical bond) with 220 grit paper. Next you will vacuum, tack cloth the floor, then apply your 3rd and final coat of finish. 1-3 days later you can return you furniture and area rugs! If it goes well, give us a call and we may hire you! ![]()
